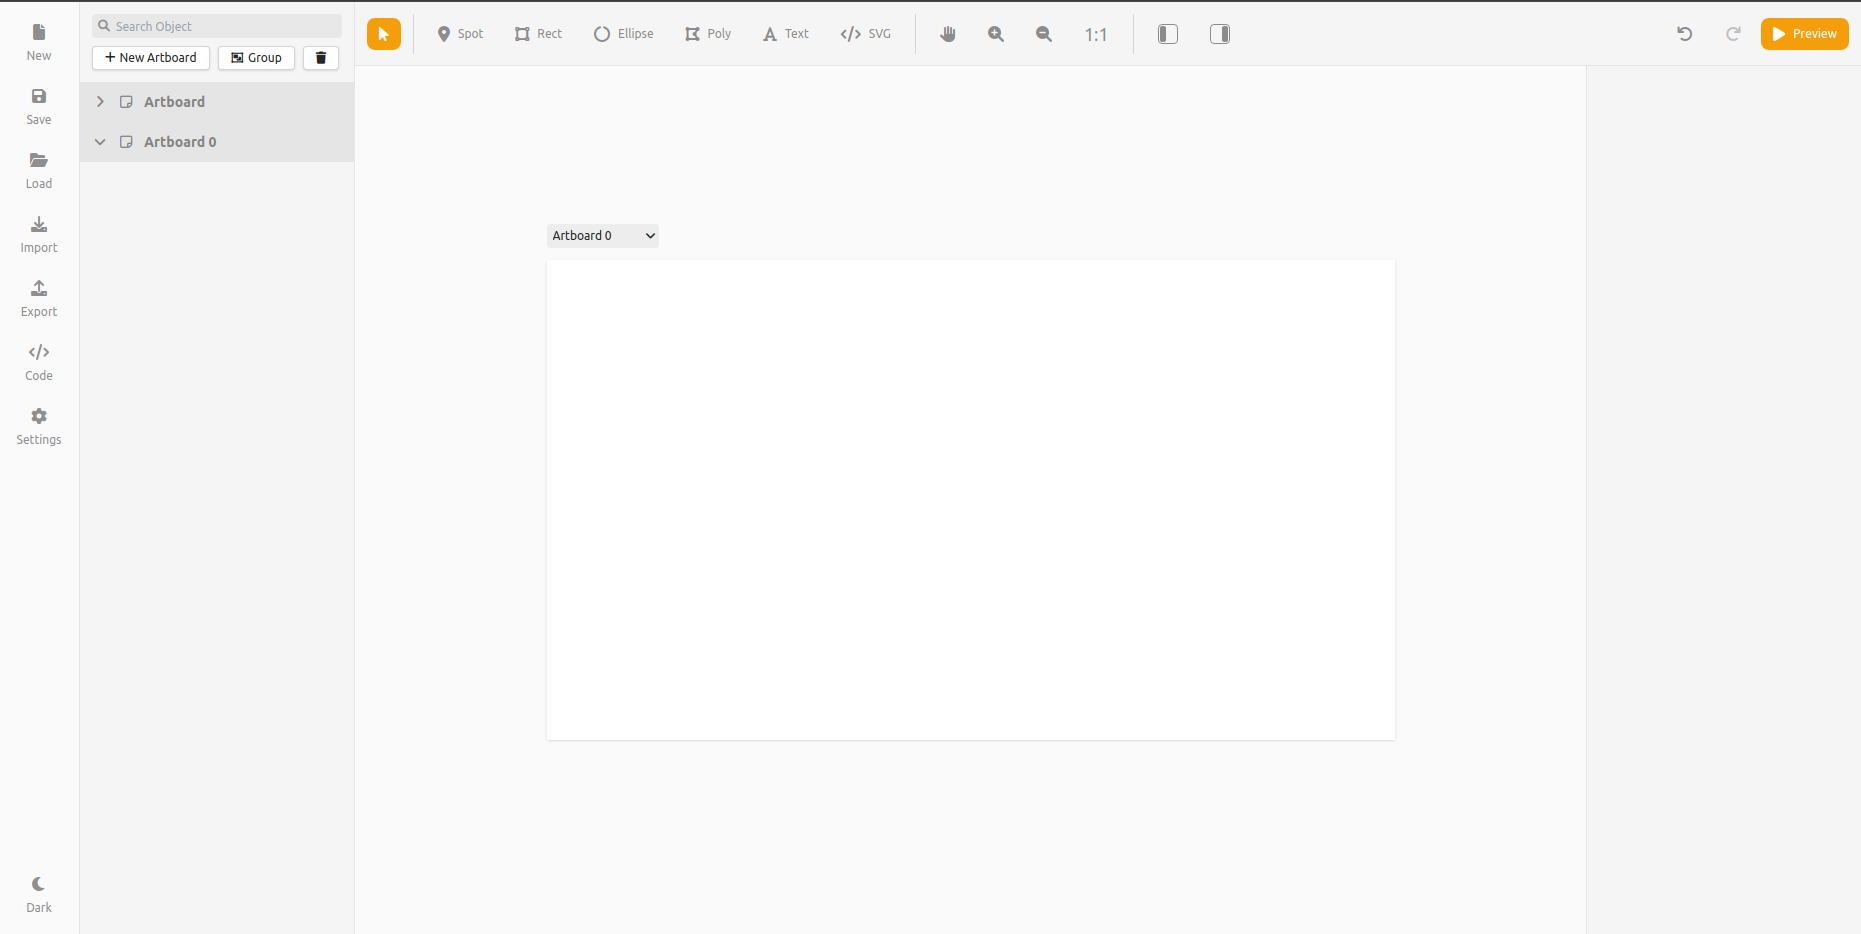
Floor Planner
A floor planner for IoT (Internet of Things) devices is an innovative tool designed to streamline the process of deploying and managing IoT devices within a physical space. By providing a visual layout of a building or room, this planner allows users to strategically place IoT devices such as sensors, cameras, and smart lights, ensuring optimal coverage and functionality. It takes into account factors like device range, connectivity requirements, and environmental conditions to recommend the best locations for installation. This not only enhances the efficiency and effectiveness of the IoT network but also helps in minimizing interference and maximizing the utility of each device.
How to Create Floor Plan?
-
Navigate to https://www.imagemappro.com/editor/index.html
-
Rename the Artboard as floor or section.
- Click Artboard.
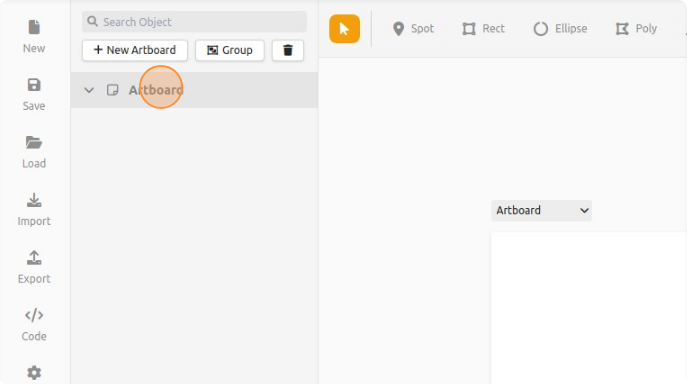
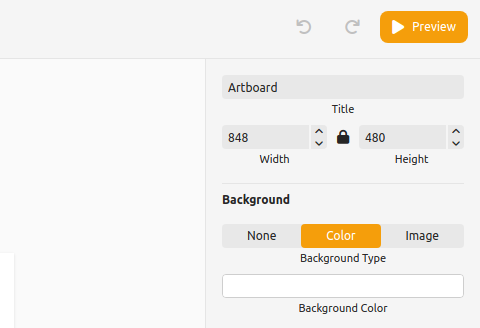
- Then on right change
Artboardto desired Floor Name.
- Click Artboard.
-
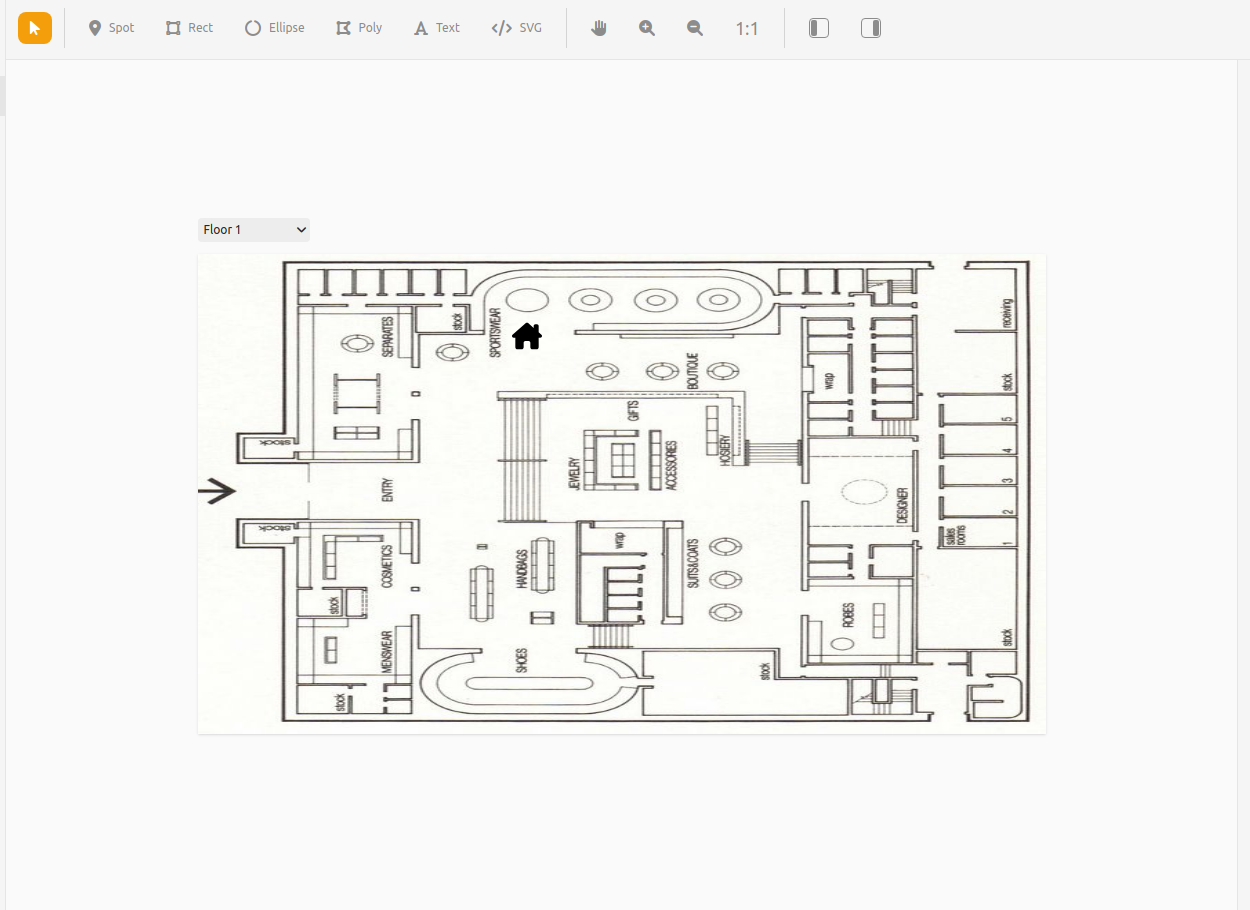
Add Floor Plan.
- Click Artboard or Floor Name you want to add floor plan.
- Upload the SVG to Artboard as shown below.
- Click on
</> SVGfrom the top Action bar.

- Upload SVG pop up will appear.
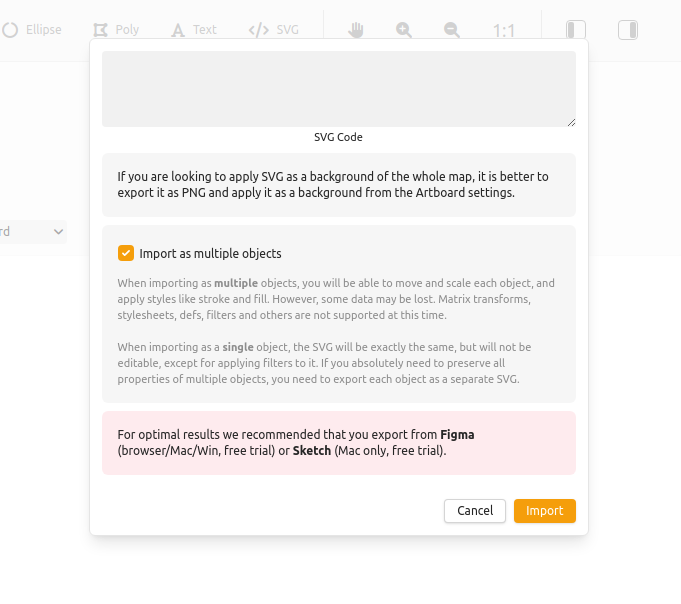
- Paste svg code of floor plan and click import. Floor Plan will appear on Artboard.
- Click on
-
Settings ( Required ).
- Click on
Settingin Left bar.

- Change Name to
Client Name.
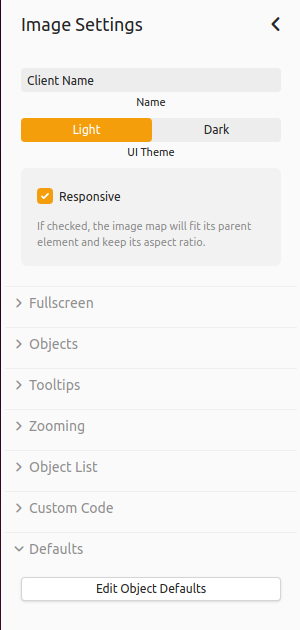
- Now set
ObjectsSettings as Follows. (Color as per your selection)
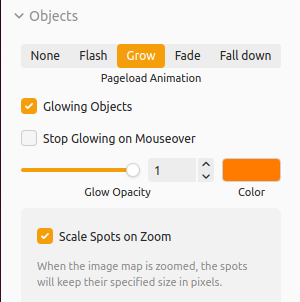
- Now set
ZoomingSettings as Follows.
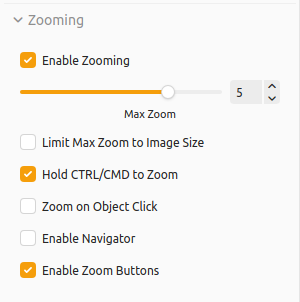
- Now set
Object ListSettings as Follows.
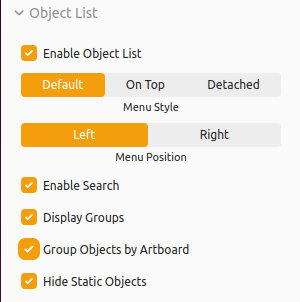
- Click on
-
Add Device on the FLoor Plan.
Click on spot from Top Bar. Place the spot on Floor where physical device is.Remarks :
Change Device Name and Device ID with original Physical Device
Change Device Icon and color as per requirement. -
Export the Floor Plan.
- Click on
Export Buttonon the Left bar. - And copy the Exported JSON code.

- Click on
How to Add Floor Plan on Dashboard?
- Login to Dashboard.
- Click on Client then select the the site Id where you want to add floor plan.
- Then Click on Devices.

- Click on
SettingIcons on floor Plan section. And Paste the exported JSON code.
- Save it. And Floor Plan will be shown.
Note: This documentation will be updated regularly to reflect the latest features and improvements of the Smarter Energy Controls Energy Dashboard.