WPS Connectivity of POW, TH20 & Data Logger
The WPS (Wi-Fi Protected Setup) feature allows for quick and secure connection of your SES POW, TH20, and Data Logger devices to a wireless network without manually entering the network credentials. Follow the steps below to establish a WPS connection for each device.
Prerequisites:
- Ensure that your wireless router supports WPS and that it is enabled in the router settings.
- Verify that the devices are powered on and within the range of the router.
Steps to Connect SES POW Device via WPS:
-
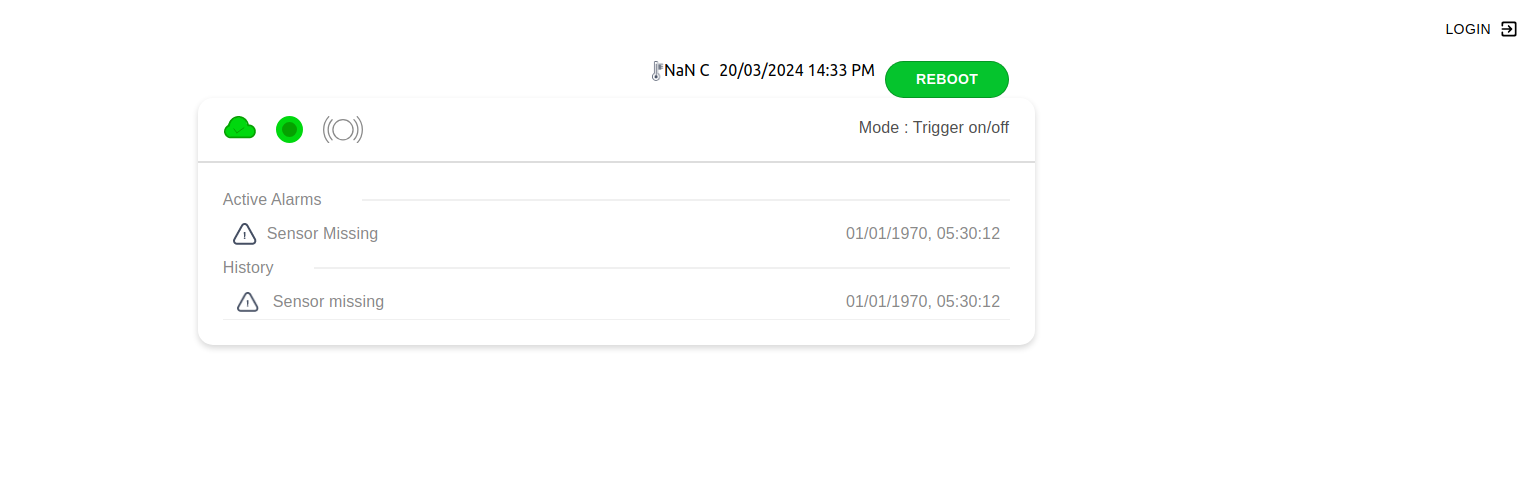
Connect to the WiFi to which device is connected (By default device connect to maintainance WiFi MEMS_SYSTEM) Get device IP (Can be checked from Router by searching device ID Or from the SES Dashboard.) and open it in the browser.
-
Login to Device web interface
- Use the default user id
userand passwordSES01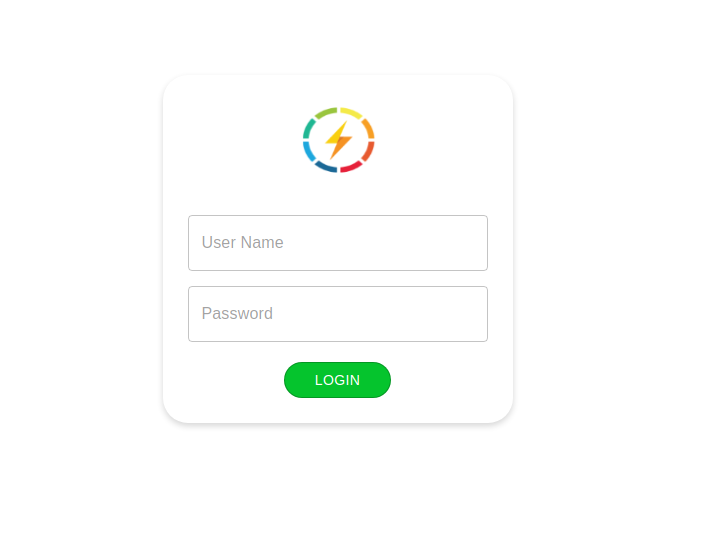
- Use the default user id
-
The device will allow you to connect and configure it.
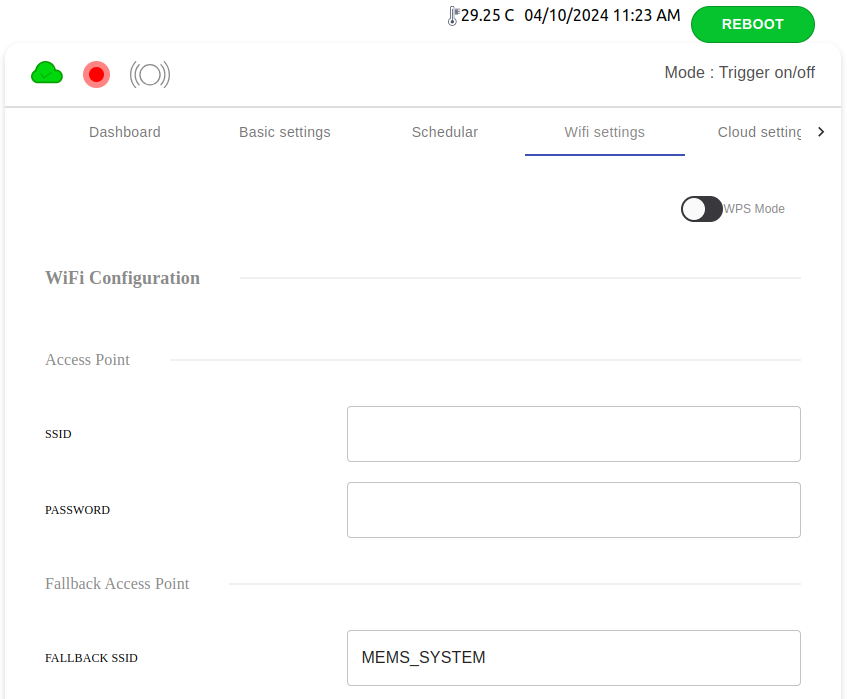
- Configure the device to be in WPS mode on WiFi Configuration Tab.
-
Set the device to connect to the WiFi Router and restart the device.
-
Toggle the WPS mode switch in the above UI and save the settings (Device will reboot, if not then reboot device from Reboot button).
-
Once device reboots, device will enter WPS mode.
-
Once connected over WPS device will save credentials to Primary SSID. (While device in WPS mode and make routers WPS button ON by router or APP)
Troubleshooting:
If you experience issues with connecting via WPS:
- Ensure that the devices are within range of the wireless router.
- Make sure that the WPS function is enabled on both the router and the devices.
- If the connection fails, try restarting the router and devices, then repeat the process.